Budget-Friendly DIY Solar & Battery Backup Systems: Start Small and Scale Up
The DIY Solar & Battery Journey
Creating your own backup power system is an empowering way to prepare for outages, reduce reliance on the grid, and delve into renewable energy. Starting small allows you to build knowledge and confidence without feeling overwhelmed. Back in 2013, I began with a basic home battery bank—a car battery connected to a small inverter—and it was the foundation for everything I’ve built since then.
This guide will walk you through three simple, budget-friendly DIY power systems:
- Level One: A basic setup with a LiFePO₄ or deep-cycle battery and inverter.
- Level Two: An enhanced system with multiple batteries and solar charging.
- Level Three: A robust off-grid system using advanced components.
Before we dive in, there’s actually a Level 0.5 and I talked about it in this video. It’s the absolute starting point.
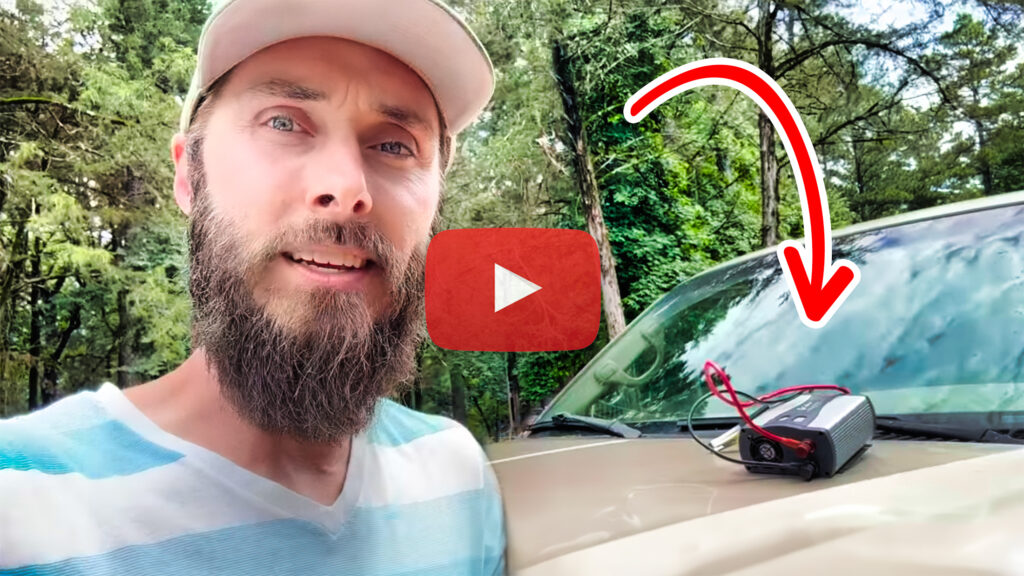
But in this article, we’re going to move on from here
Let’s get started!
Level 1: The Simplest Backup Power System
TL;DR
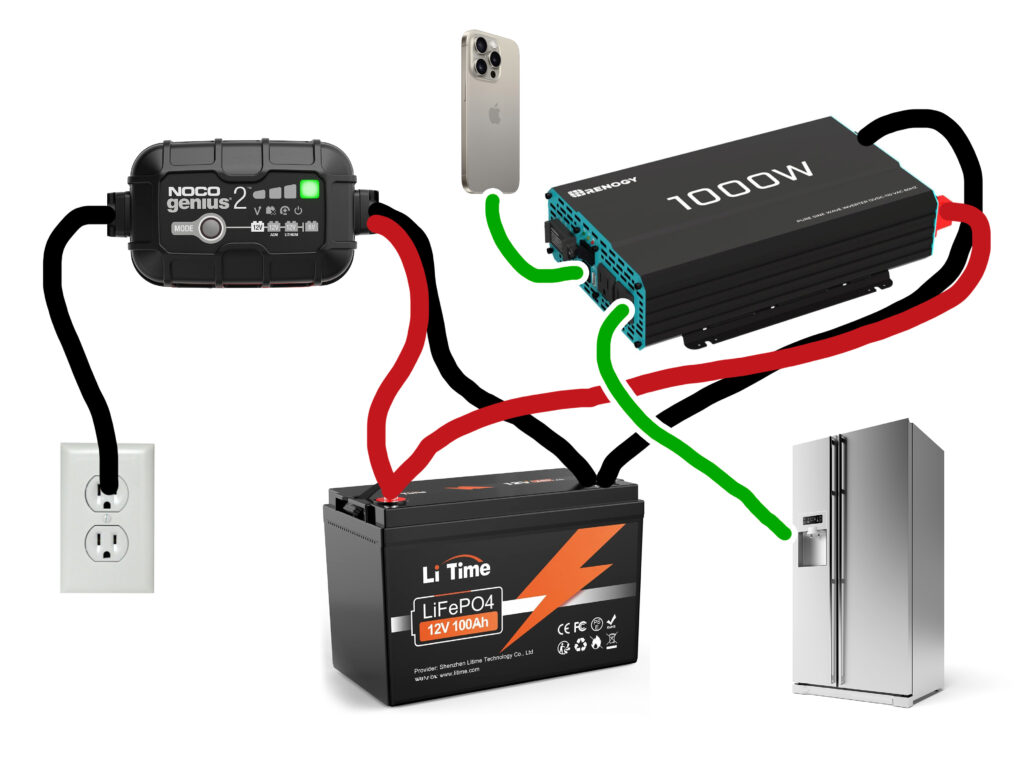
Start your DIY power journey by connecting a 1000W inverter to a LiFePO₄ or good-quality deep-cycle battery and keeping it charged with a basic battery charger. It’s an easy and affordable way to power small devices during outages.
Overview
This simple setup is perfect for:
- Powering small devices like lights and phones.
- Providing short-term emergency power for a refrigerator.
- Learning the basics of off-grid systems.
Here’s a photo of my first setup. I had two Energizer deep-cycle batteries, a Walmart battery charger, and an 800watt Cobra inverter

What You Need
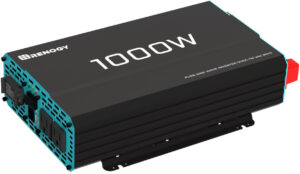
- 1000W Inverter: Converts battery power to AC for your devices.
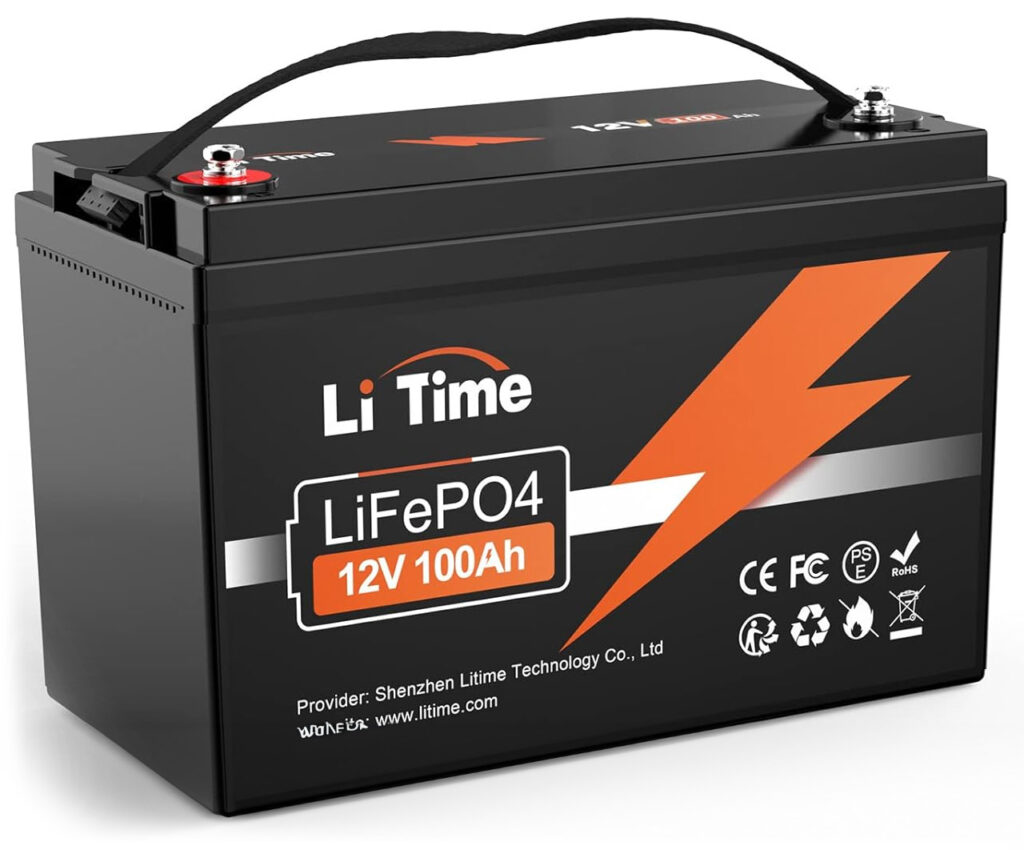
- LiFePO₄ or Deep-Cycle Battery: Stores energy; LiFePO₄ is recommended for its longevity, but a good-quality deep-cycle battery will suffice.
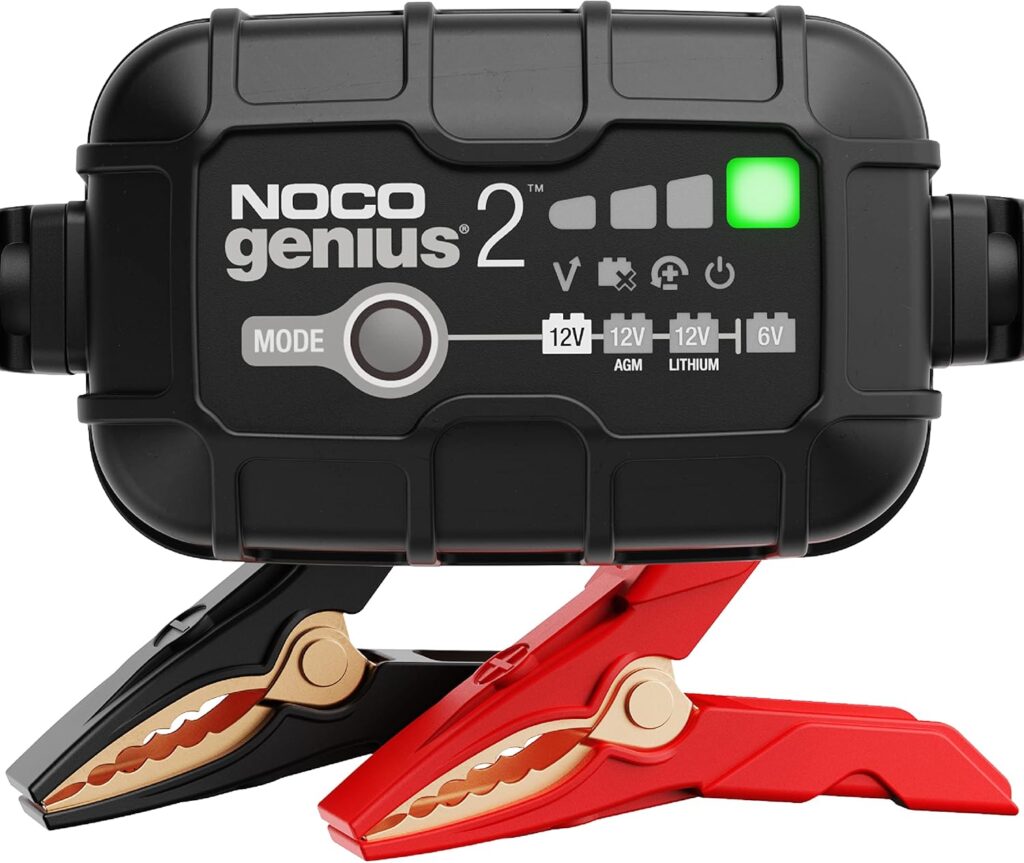
- Battery Charger: Keeps your battery charged when connected to the grid.
- Cables and Connectors: For safe connections between components. (These will likely be included with your components)
Setup
- Connect the Inverter to the Battery: Attach the inverter’s positive and negative cables to the corresponding battery terminals.
- Connect the Charger to the Battery: Connect the positive and negative cables on the same terminals you just connected the inverter.
- Plug in Your Devices: Turn on the inverter and connect your devices, keeping the total load under 1000W.
Scaling Up to Level Two
- Future-Proofing: Starting with a LiFePO₄ battery makes scaling up easier.
- Avoid Mixing Batteries: If you plan to add more batteries later, use the same type and age (necessary with lead acid but not as much with LiFePO₄) to ensure balanced performance.
Safety Tips
- Set up in a dry, well-ventilated area.
- Keep components out of reach of children.
- Use a charger compatible with both lead-acid and lithium batteries for future upgrades.
Limitations
- Limited power capacity.
- No renewable energy integration.
- Battery may not last long if deeply discharged regularly.
Ready to Get Started?
Equip yourself with the essentials:
Level 2: Scaling Up with Multiple Batteries and Solar
TL;DR
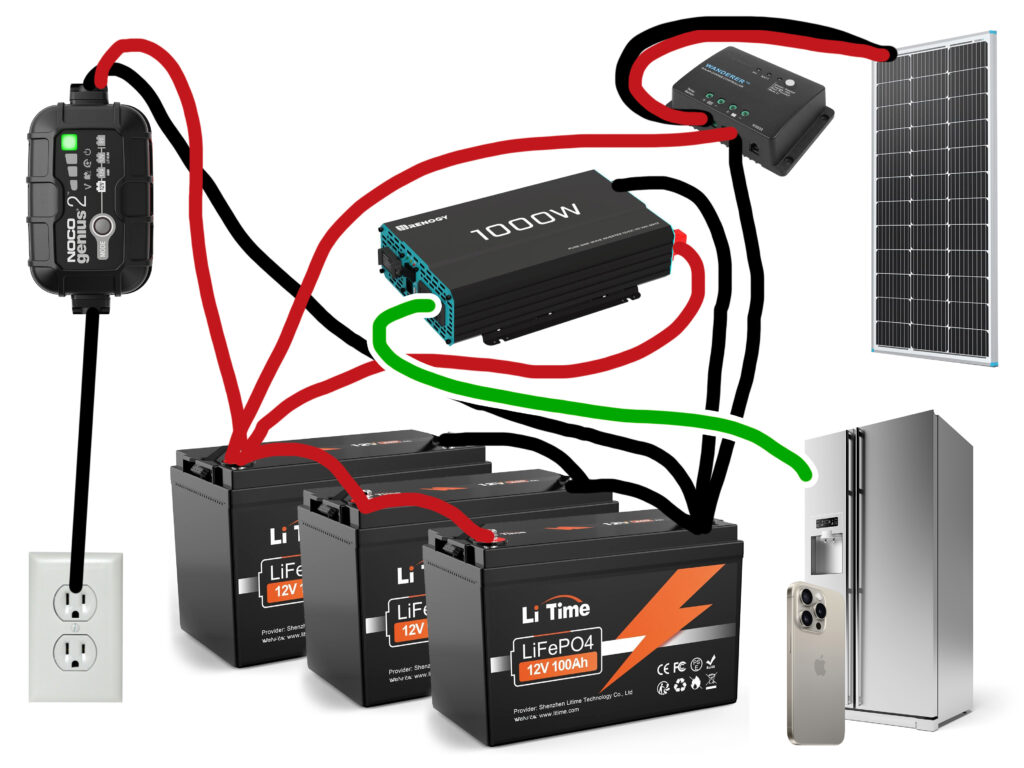
Enhance your system by adding more LiFePO₄ batteries (preferred) or good-quality deep-cycle batteries and integrate solar panels with a charge controller for renewable energy charging.
Overview
This upgraded system allows you to:
- Power larger devices and run them longer.
- Reduce reliance on grid power.
- Gain experience with solar energy.
What You Need
- Multiple LiFePO₄ Batteries: Increases storage capacity; LiFePO₄ is recommended, but deep-cycle batteries can be used if consistent with initial setup.
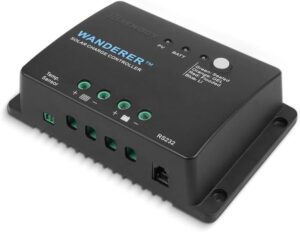
- PWM Solar Charge Controller: Charges batteries with solar energy.
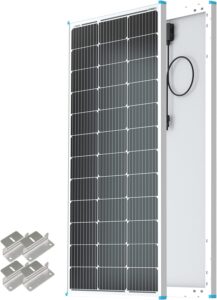
- 12V Solar Panels: Converts sunlight into electricity.
- Upgraded Inverter (Optional): Handles higher power demands.
- Additional Cables and Safety Equipment: For safe and efficient connections.
Setup
- Expand the Battery Bank: Connect multiple batteries in parallel to increase capacity.
- Note: Use batteries of the same type and age to prevent imbalances.
- Install Solar Panels: Mount them where they receive maximum sunlight.
- Connect the Charge Controller: Links the solar panels to the batteries, managing the charging process.
- Upgrade the Inverter (if needed): Allows you to power more or larger devices.
- Check out my video on the ▶️ 2000W BougeRV 12V Inverter
Advantages
- Longer power availability.
- Renewable energy reduces electricity costs.
- Scalable—add more batteries or panels as needed.
Considerations
- Avoid Mixing Old and New Batteries: Mixing can lead to reduced performance and battery life.
- Higher Initial Cost: More components increase upfront investment.
- Complexity: Requires basic electrical knowledge.
Ready to Upgrade?
Start enhancing your system:
- Shop for Additional LiFePO₄ Batteries
- Choose an MPPT Solar Charge Controller
- Select High-Efficiency Solar Panels
Level 3: Building a True (small) Off-Grid Power System
TL;DR
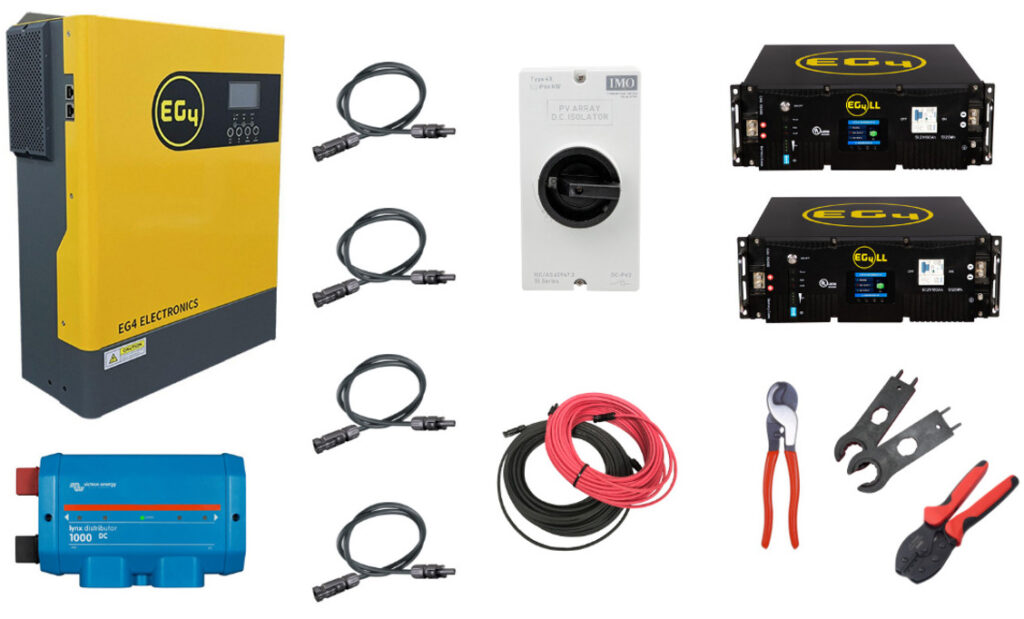
Create a robust off-grid system using a high-capacity LiFePO₄ server rack battery and an all-in-one inverter like the EG4 3kW Off-Grid Inverter, combined with solar panels for a comprehensive energy solution.
Overview
This is where we step up from a few batteries that give power when you need it to a true off-grid system. I want to make clear that this is not going to power a traditional American house and replace the grid. This is still a small system that is for emergencies and maybe to power a few small loads.
However, this system design is close to what I use to power my entire homestead. I just use more batteries and larger inverters. But if you can build this, you can build what I have with a few more steps
This is ideal for those ready to invest more; this system can:
- Power high-demand appliances.
- Operate independently from the grid.
- Serve as a reliable energy source for remote locations.
What You Need
- Server Rack LiFePO₄ Battery: High-capacity, long-lasting energy storage.
- All-in-One Inverter: Combines inverter, charger, and MPPT charge controller.
- DC busbar: (Optional) Connect multiple batteries to this and then run a single cable to the inverter
- Solar Panels: Provides renewable energy input.
- DC Disconnect: Allows you to disconnect your solar panels from your inverter safely.
- Mounting Hardware and Safety Equipment: For secure installation and operation.
Setup
- Install the Battery and Inverter: Set up indoors, connecting the battery directly to the inverter (or connect all to the busbar if you have multiple batteries).
- Connect Solar Panels: Plug them directly into the inverter’s built-in MPPT controller.
- Configure the System: Program settings according to your energy needs.
- Power Your Home or Devices: Connect appliances to the inverter’s output.
- This is a simple overview and is not to be considered expert advice.
Advantages
- High power capacity suitable for most household needs.
- Efficient and streamlined setup.
- Scalable and upgradable.
Safety and Professional Advice
- Consider professional installation due to system complexity.
- Ensure compliance with local codes.
- Keep equipment secure and out of reach of children.
Ready for the Big Leap?
Make your off-grid system a reality:
- Here’s a kit with most of what you need!
- EG4-LifePower4 V2 48V Battery
- EG4 3kW Off-Grid Inverter
- Solar Panels
- Busbar
Conclusion
From a simple battery and inverter to a full-fledged (small) off-grid system, these DIY setups offer a pathway to energy independence. Each level builds on the previous one, allowing you to grow your system as your confidence and needs expand.
Remember:
- Start Small: Begin with a basic setup to learn the fundamentals.
- Scale Up Thoughtfully: Add components as needed, ensuring compatibility and avoiding mixing old and new batteries.
- Prioritize Safety: Always follow safety guidelines and consider professional help for complex systems.
Embarking on this journey not only equips you with practical skills but also contributes to a more sustainable future. Share your experiences or ask questions in the comments—your insights could inspire others to take their first step into DIY solar and battery systems.
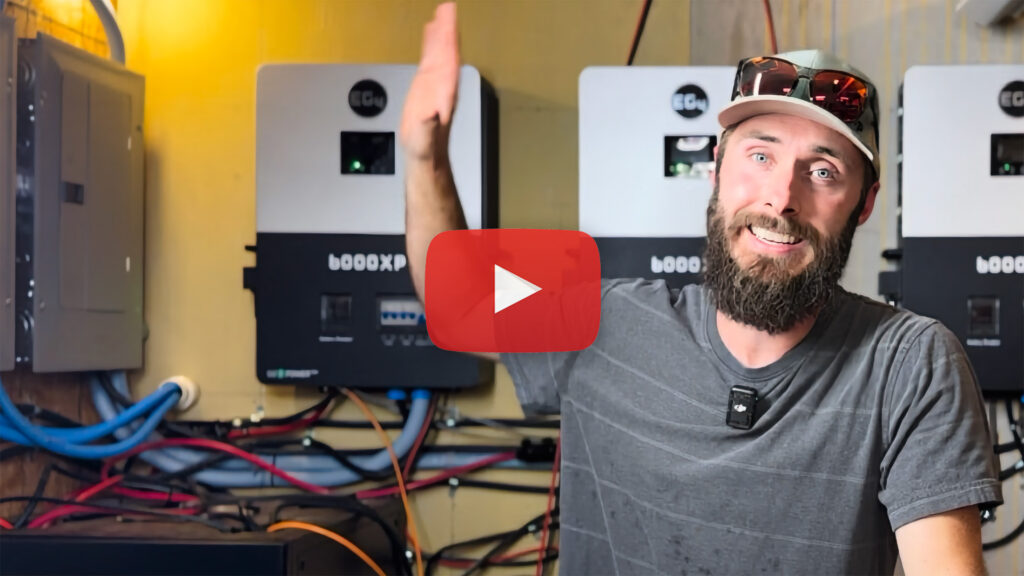
Want to see a much larger system?
Recent Posts
Spring 2025 Signature Solar Discount Code – 5% OFF EG4 6000XP Inverter (Limited Time!)
Looking for a Signature Solar discount code that works in 2025? Want to to save money on your next solar inverter purchase? You’re...
Parallel EG4 6000XP Install with EG4 WallMount Batteries
Welcome to the Ultimate DIY Off-Grid Solar Build For Beginners! If you’re planning an EG4 6000XP Install, this step-by-step guide will walk you...
How to Fix EG4 LifePower4 SOC Drift
Lithium SOC Drift Happens State of Charge (SOC) drift is a common issue you might face with your EG4 LifePower4 batteries. Over time,...

