DIY Projects
How to connect Solar Panels to EG4 Mini Split
Today, we’re diving into the exciting project of connecting the EG4 mini split to solar panels. We’ve had quite a few requests on how to do this, so we’re kicking things off and taking you through each step. Trust me, it’s going to be super straightforward!
The article below is a good overview but I encourage you to watch the video above for a more detailed walkthrough.
Disclaimer: I am not an electrician and this guide is not to be considered expert advice. Consult a certified electrician and your local codes and laws. I take no responsibility for your actions.
Everything You’ll Need
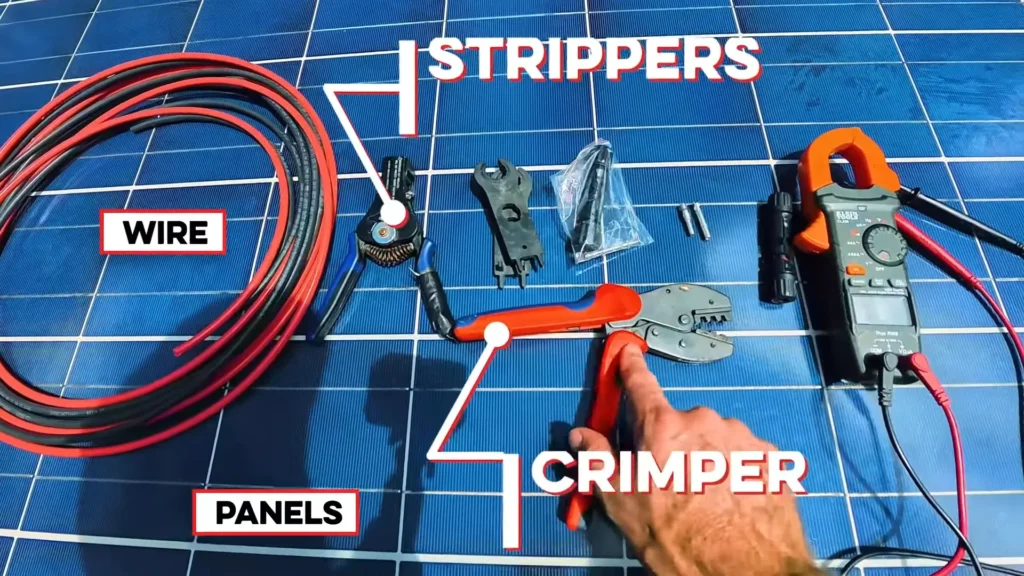
Before we begin, let’s gather all necessary items for this project:
- Mini Split Unit
- 10 AWG PV Wire
- Solar Panels
- Wire Strippers
- MC4 Crimp Tool
- MC4 M&F Connectors
- AC/DC Clamp Multimeter
- PV Array DC Isolator
Links listed may be affiliate links. Thank you for supporting our work by using the links provided!
One important point is to read your instructions thoroughly to ensure correct wiring.
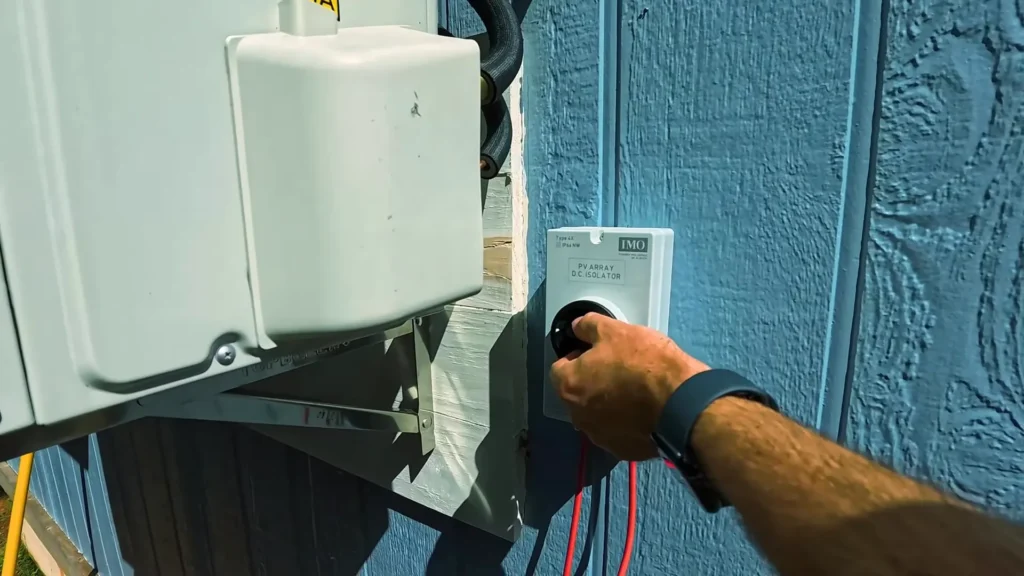
Connecting the PV Array DC Isolator
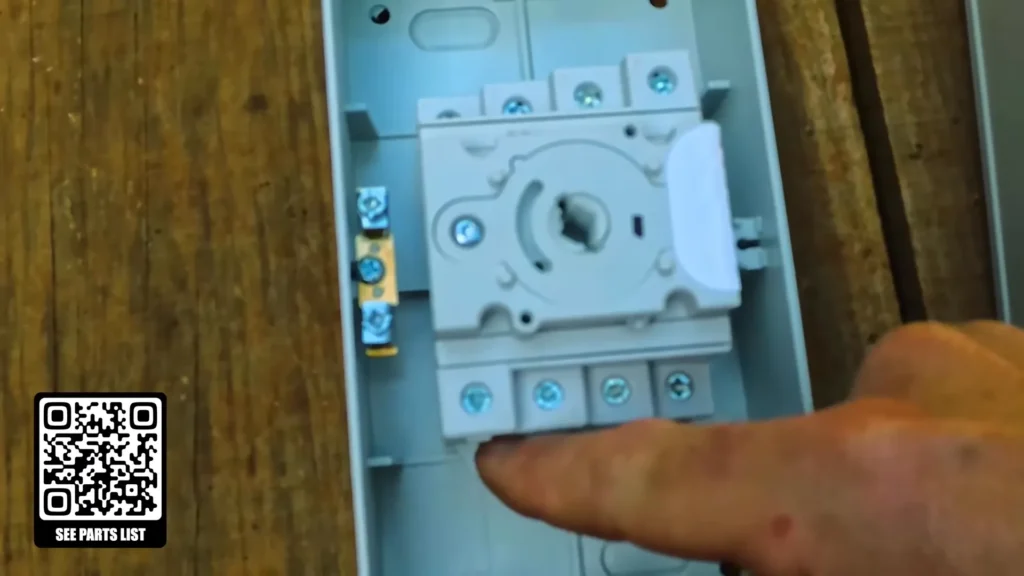
Let’s discuss the setup for the DC isolator. It might seem at first glance that connections go straight through, but you actually need to wire back to the unit correctly.
In our setup here, we’ve chosen to use watertight connections at the bottom for extra safety and kept the connections up top.
Temporary Solar Panel Trailer Setup
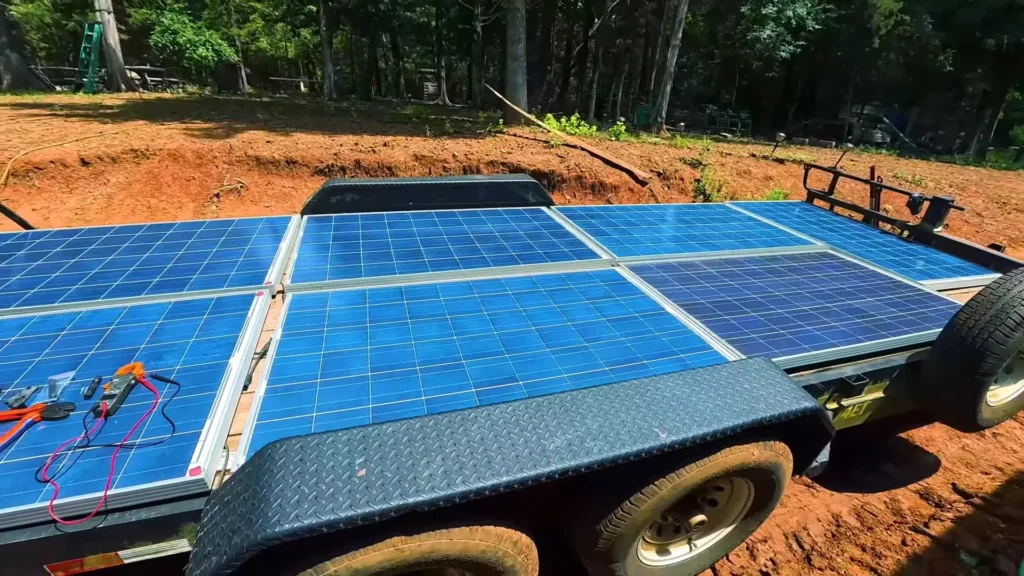
You might be wondering why I have my solar panels mounted on a trailer instead of a ground mount. Good question!
"I decided on a temporary trailer setup because I’ll eventually be building a deck here. For now, this truck setup is practical and lets me show you the process."These panels are definitely on the older side — I grabbed them for just $20 a piece. If you are in the market for used solar panels, I cannot recommend SanTan Solar enough. You’ll often find that the cost of freight and shipping surpasses the price of the panels themselves.
Setting Up the Panels
Here’s what our setup looks like:
1. Panels are connected in series, starting from the first panel and connecting one to anotherMeasuring Voltage
Let’s use a voltmeter to ensure proper voltage levels. Turn your voltmeter to volts DC and carefully plug it into the panel system.
- Place the black probe on your multimeter into the negative terminal on your solar array.
- Then, place the red probe into the positive terminal from your array.
Looks like i’m getting 217 volts with some clouds in the sky.
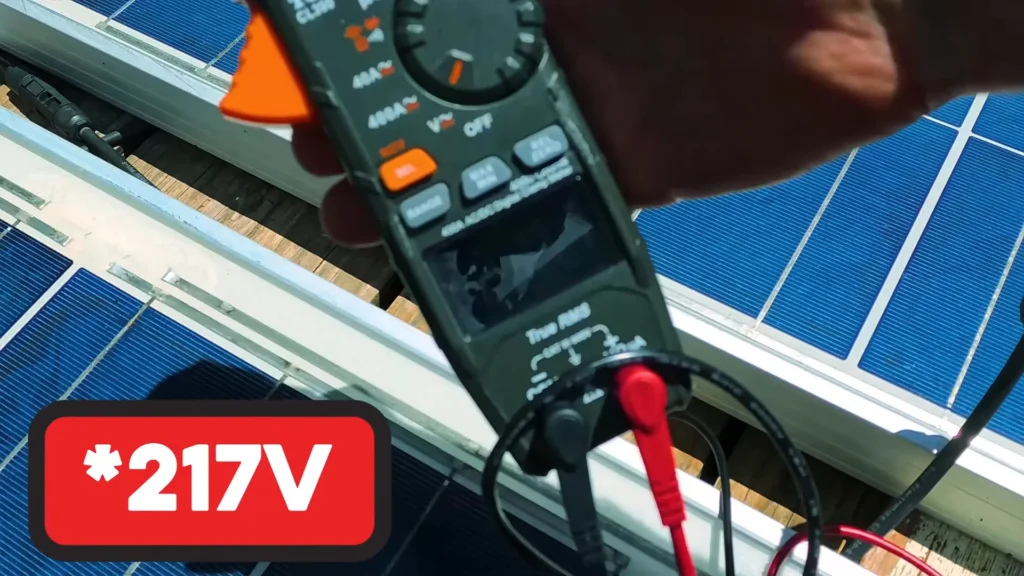
If everything is set up properly, you will be reading the voltage correctly.
Be sure to check your user manual to see if your open circuit voltage VOC is within the minimum and maximum range for your unit.
Connecting to the Mini Split

With the wires correctly set up:
- Connect the positive and negative leads to the unit
- Secure all connections
- Turn on the DC Isolator
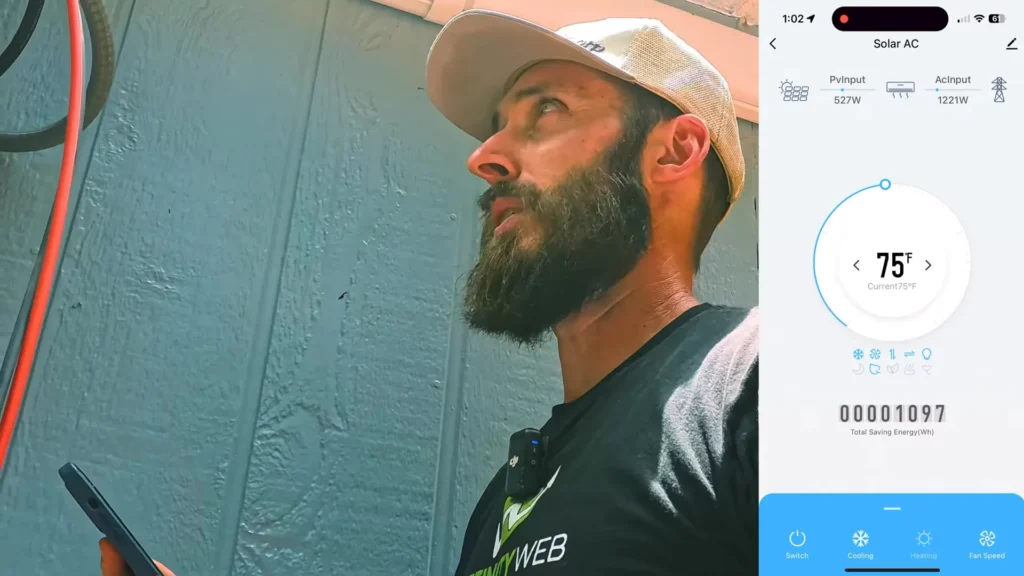
During initial setup, we’re seeing around 300 watts due to cloud cover, but as the sun breaks through, we’re hitting approximately 600 watts.
Efficiency Tips and Tricks
Remember, these panels, due to their age, only put out about 100 watts each. Investing in newer panels like 420-watt units will optimize space and efficiency.
“Don’t be fooled by appearances. Spending extra on high-efficiency panels will save more space and provide better outputs.”
Conclusion
Connecting solar panels to your mini split is as simple as plug and play. With a minimal investment in older panels, you can see considerable returns.
For those interested in buying an EG4 Solar Mini-Split, click here.
Don’t forget to get $50 off anything you buy when you use “ETHSAVE50BUCKS” at Signature Solar.
Check Pricing
Thank you for joining me on this solar-powered journey. If you have any questions or need further clarification, feel free to leave a comment below.
Happy solar paneling!
Share
Recent Posts

April 1, 2025
Spring 2025 Signature Solar Discount Code – 5% OFF EG4 6000XP Inverter (Limited Time!)
Looking for a Signature Solar discount code that works in 2025? Want to to save money on your next solar inverter purchase? You’re...
March 13, 2025
Parallel EG4 6000XP Install with EG4 WallMount Batteries
Welcome to the Ultimate DIY Off-Grid Solar Build For Beginners! If you’re planning an EG4 6000XP Install, this step-by-step guide will walk you...
February 18, 2025
How to Fix EG4 LifePower4 SOC Drift
Lithium SOC Drift Happens State of Charge (SOC) drift is a common issue you might face with your EG4 LifePower4 batteries. Over time,...