
DIY Projects
Upgrading from EG4 6000XP to 12000XP: What I Learned
Eric - East Texas Homestead
July 29, 2026
When I started my solar journey, I went with three EG4 6000XP inverters. They served me well, but as my homestead grew, I found myself running them at 80-90% capacity during Texas summers. That’s running hard. So I decided to swap all three out for two EG4 12000XP inverters.
This article covers what I learned during the upgrade. The full video is linked at the bottom of this page.
Why Upgrade?
The EG4 6000XP is a solid inverter. Each one delivers 6kW of output and handles 8kW of solar PV. But when you need more power, you have two options: add more 6000XPs in parallel, or step up to the 12000XP.
The 12000XP doubles the output (12kW, or 15kW on the V2 model) and triples the solar input to 24kW. It has 100A bypass, dual 35A MPPTs, and a programmable smart load port. Going from three 6000XPs to two 12000XPs gave me more capacity, a smaller footprint, and fewer points of failure.
For a deeper comparison between the two inverters, check out my EG4 12000XP Review and my EG4 6000XP Review.
The Clearance Problem
The 12000XP manual requires 19.75 inches (500mm) of clearance on all sides for heat dissipation. My existing setup had the three 6000XPs mounted on conduit boxes on top of my EG4 batteries, side by side with minimal gaps.
Going from 3 inverters to 2 saved width, but each 12000XP is about 3.5 inches wider than a 6000XP. I also needed the 19.75″ gap between the two new inverters.
The solution was to squeeze battery A tight against battery B on the left, spread batteries B and C apart to get the required gap between the inverters, and mount the inverters on batteries B and C. This actually improved my electrical panel clearance on the left side compared to the old setup.
To see how I originally built the 6000XP system, check out my Parallel EG4 6000XP Install with EG4 WallMount Batteries.
Wire Sizing
The 12000XP requires 3 AWG copper THHN for both the grid input (100A breaker) and the load output (63A internal breaker). The manual specifies these minimums in the AC connections section.
I needed two runs each for grid and load, one per inverter, with equal length cables to each inverter for balanced load sharing in parallel mode. That worked out to roughly 180 feet total across black (L1), red (L2), and white (neutral).
I priced wire at Lowe’s ($3.68/ft) versus Wire & Cable Your Way ($2.59/ft). The difference was significant: about $200+ saved by buying online. I got the wire in three colors (black, red, white) so I didn’t have to phase-tape anything, which is cleaner and easier to troubleshoot.
For the equipment grounding conductor, I used 4 AWG green wire I already had on hand. NEC Table 250.122 only requires 8 AWG for a 100A breaker, so 4 AWG is well above minimum. If you want to understand the math behind wire sizing, see my Ohm’s Law guide from the Solar Power 101 series.
Breaker Selection
Each 12000XP needs a 100A breaker on the grid input side. The manual calls for the Eaton BR2100CS (or equivalent). I found these on Amazon for $45.90 each versus $96.60 at Home Depot. Four breakers saved me over $200.
V1 vs V2 Parallel Compatibility
The 12000XP comes in two models: IV-12000-XP-IN-01 (V1, 12kW output) and IV-15000-XP-IN-01 (V2, 15kW output). I had a V1 from a previous purchase and Signature Solar sent me a V2 for this video.
Based on my research and community discussions, V1 and V2 can be paralleled together. However, when paralleled with a V1, the V2 is limited to the V1’s output capacity (12kW / 50A at 240V). The V2’s 15kW capability only works when all units in the parallel system are V2.
I made the V2 the master inverter since it has the newer hardware revision and handles battery communication.
Conduit Box Modification
The 6000XP and 12000XP use similar conduit boxes, but the cutout pattern is different. The 6000XP has a small cutout, while the 12000XP needs the entire back section cut out. I had to use a grinding wheel to enlarge the opening on my existing conduit box.
Commissioning
The parallel setup process follows Section 9.2 of the EG4 12000XP manual:
- Set CAN communication PIN to ON for first and last inverter, OFF for middle inverters
- Install the grey parallel cable between inverters
- Power on the master first, then slaves
- Set System Type to “Parallel” on each unit
- Select “Battery Shared” on each unit
- Verify settings were copied from master to slaves
What I’d Do Differently
- Check the conduit box before you start. I didn’t realize the 6000XP box wouldn’t work for the 12000XP without modification. If you’re planning this upgrade, order the correct conduit box ahead of time.
- Buy wire online. The savings from Wire & Cable Your Way versus Lowe’s was significant, even with shipping.
- Use colored wire. Having black, red, and white 3 AWG makes the panel work so much cleaner than all-black with phase tape.
- Plan your battery layout first. The 19.75″ clearance requirement drives everything. Figure out which batteries get inverters before you start moving anything.
Get the EG4 12000XP
If you’re ready to upgrade, grab the current discount code and use my affiliate link for $50 off at Signature Solar:
For the current discount code, click here.
Disclosure: Signature Solar provided the EG4 12000XP V2 inverter at no cost for this video and article.
Disclaimer: I am not a licensed electrician. This article is for entertainment purposes and general information only. Everything shown here is based on my own experience and opinion with my specific setup. Electrical work is dangerous and code requirements vary by location. Always consult your local Authority Having Jurisdiction (AHJ), the National Electrical Code (NEC), and a qualified licensed electrician before doing any electrical work. Do your own research and hire a professional when in doubt.
Some links in this article may be affiliate links, which means I may earn a small commission if you buy through them at no extra cost to you. It helps support the channel.
Watch the full video: Upgrading From 6000XP to 12000XP V1 and V2
Related Articles:
Share
Recent Posts
October 1, 2026
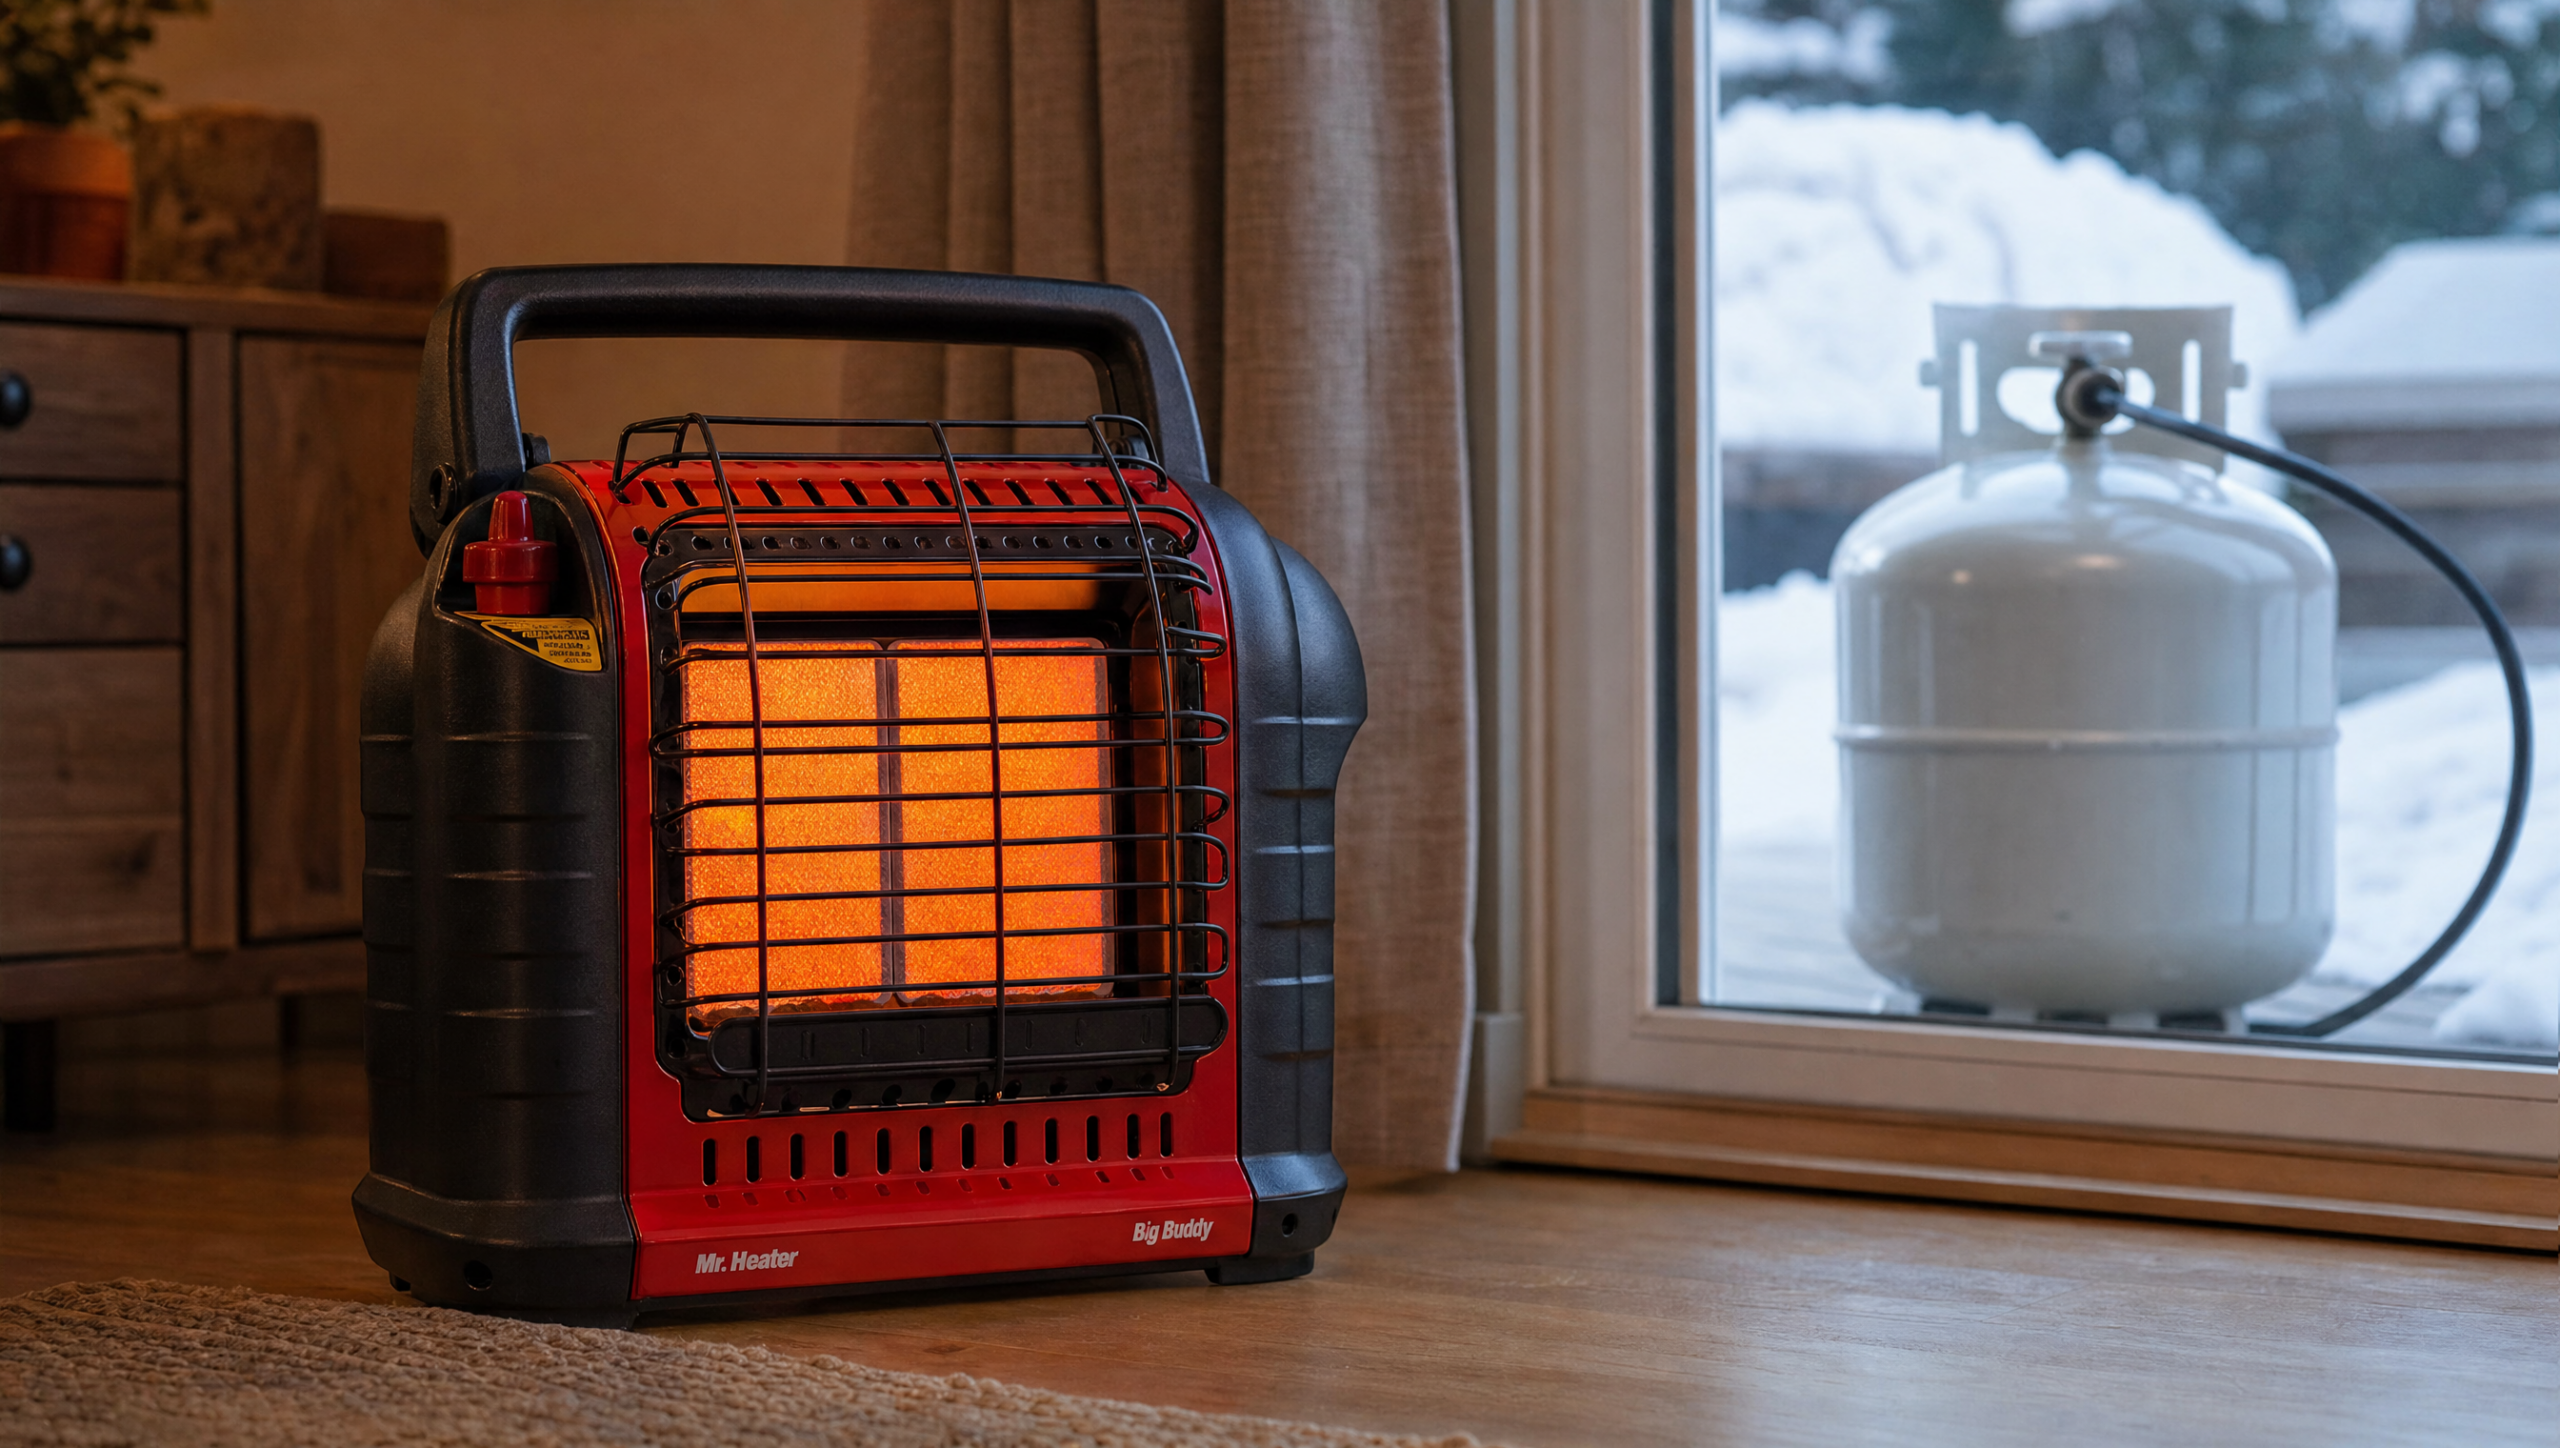
STOP Doing This With Your Mr. Heater (Serious Safety Risk)
The dangerous Mr. Heater mistake I keep seeing: propane tanks brought indoors. Why it is a serious safety risk and the correct way...
October 1, 2026
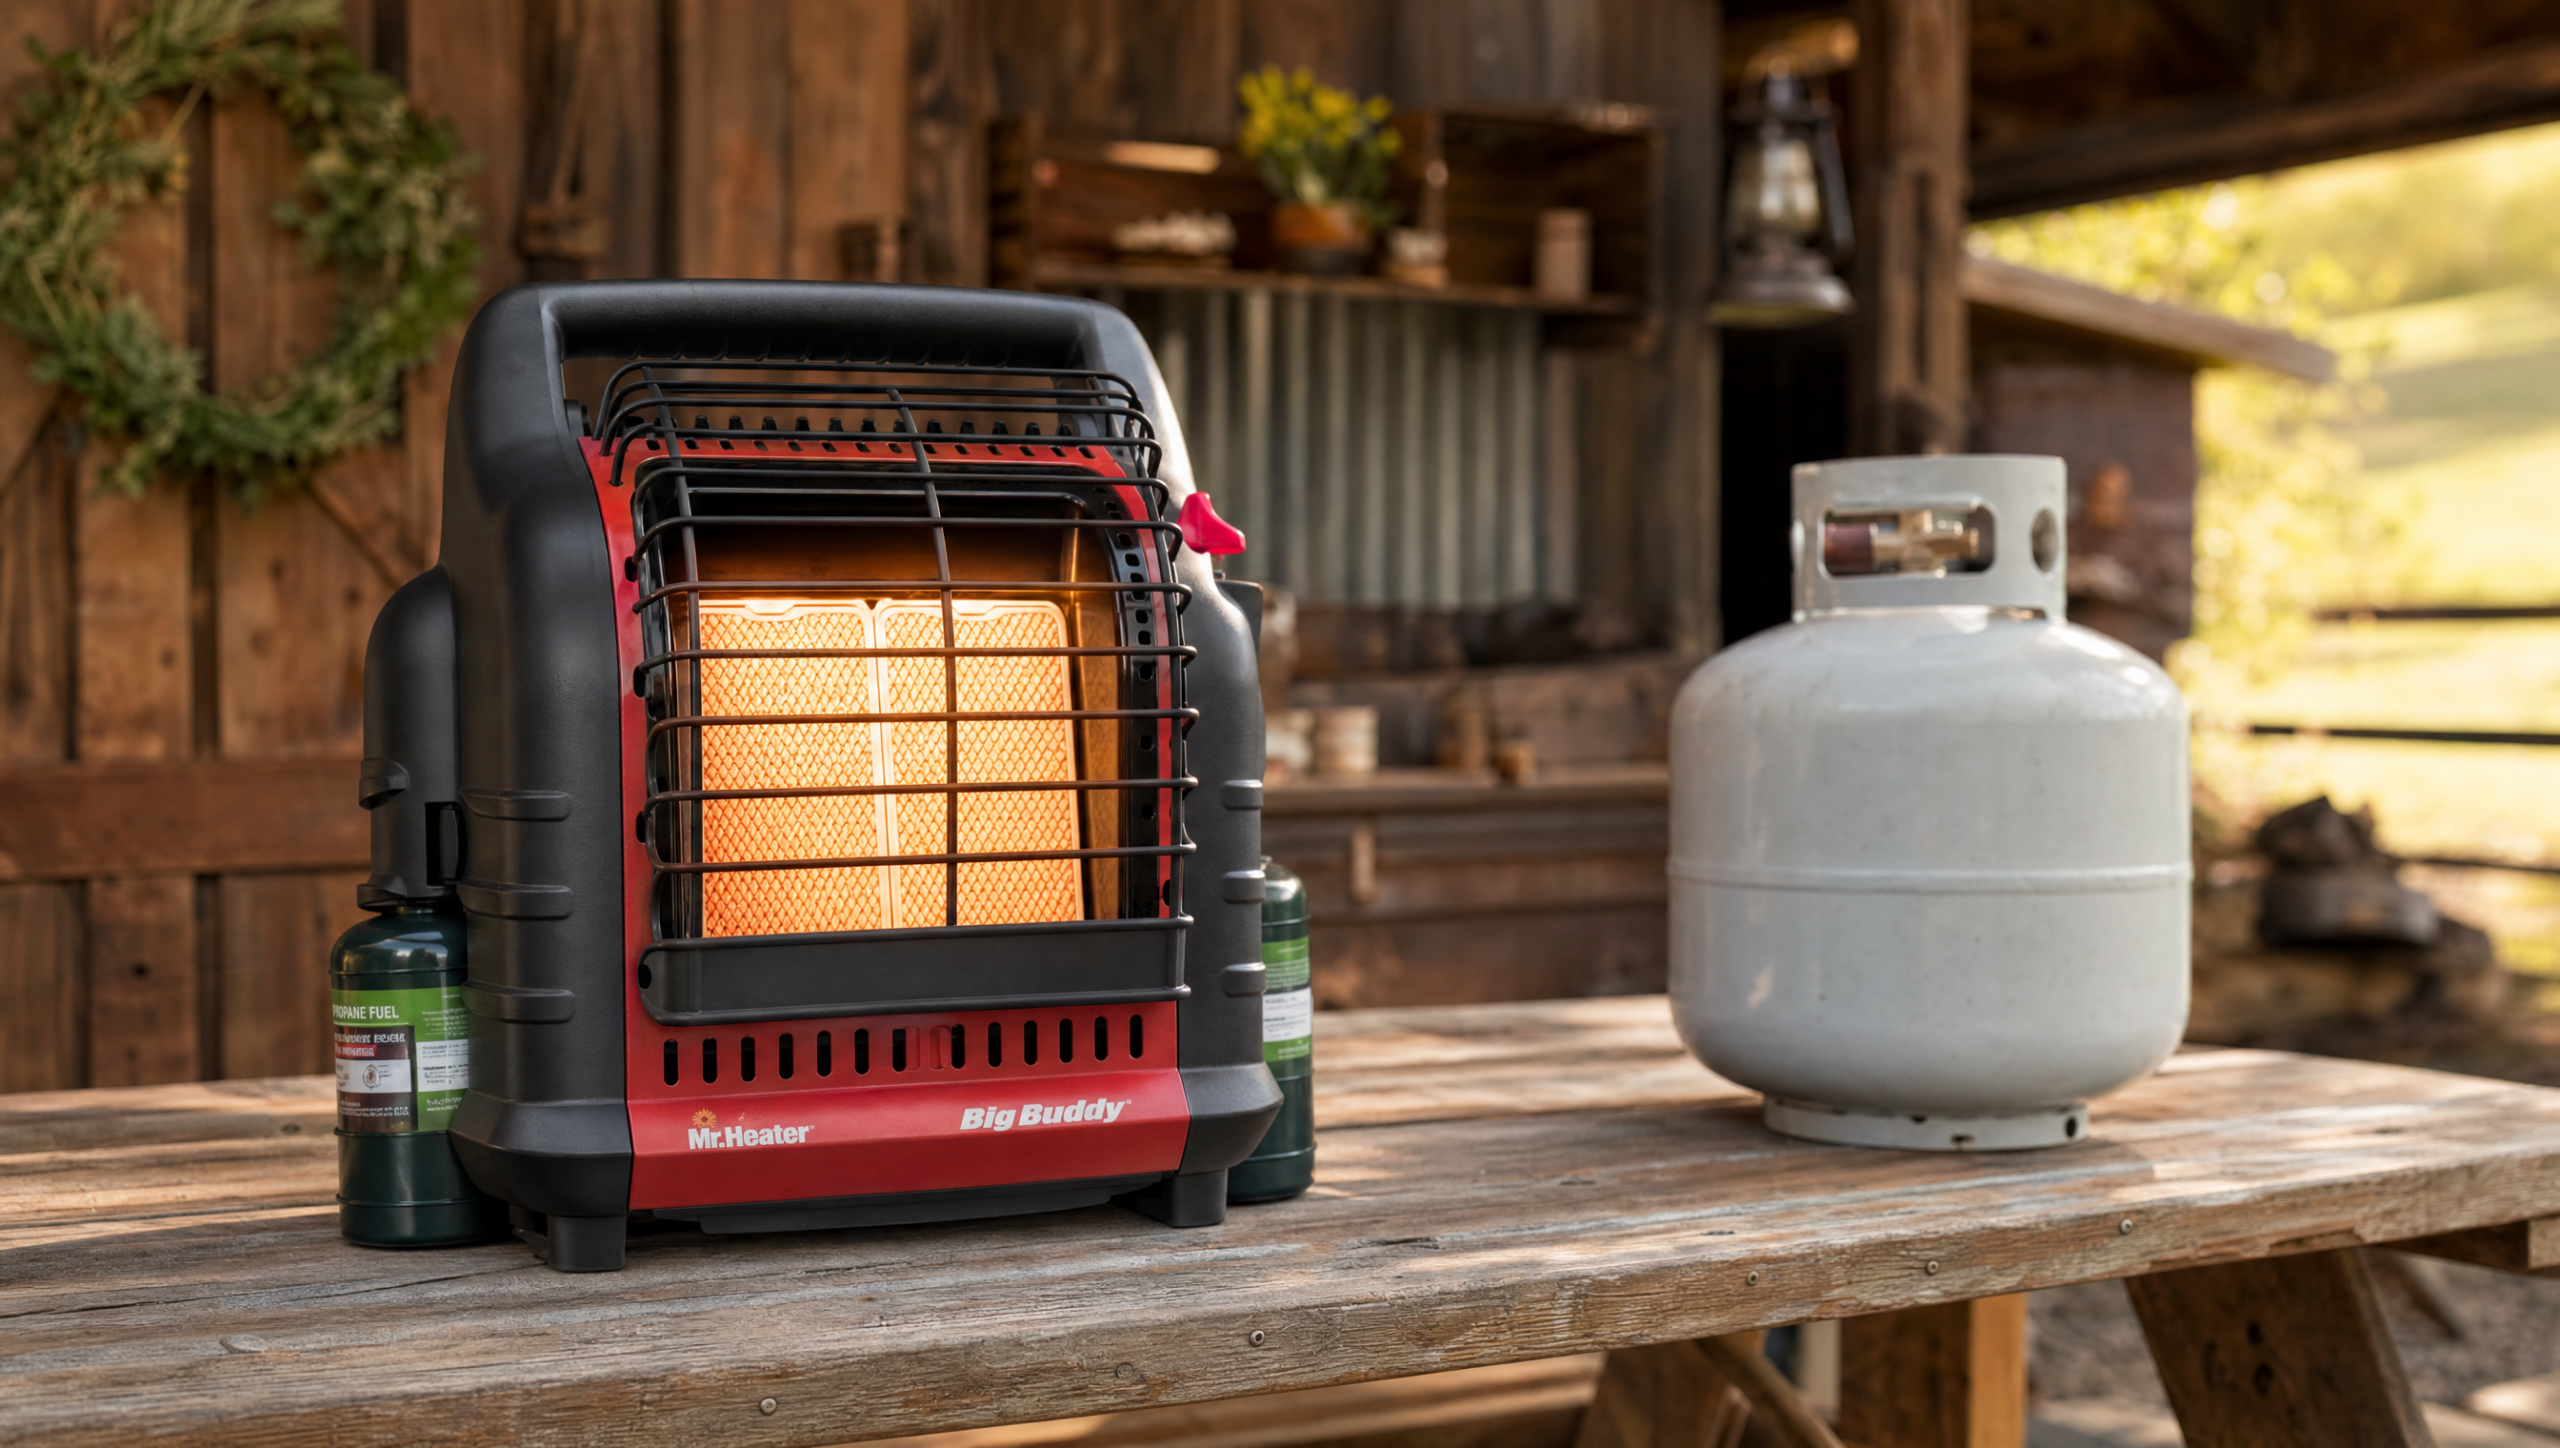
How Long Does Propane Last in a Mr. Heater Big Buddy? (Run Times Chart)
How long will a Mr. Heater Big Buddy run on a 20 lb propane tank? Complete run time chart for low, medium, and...
August 3, 2026
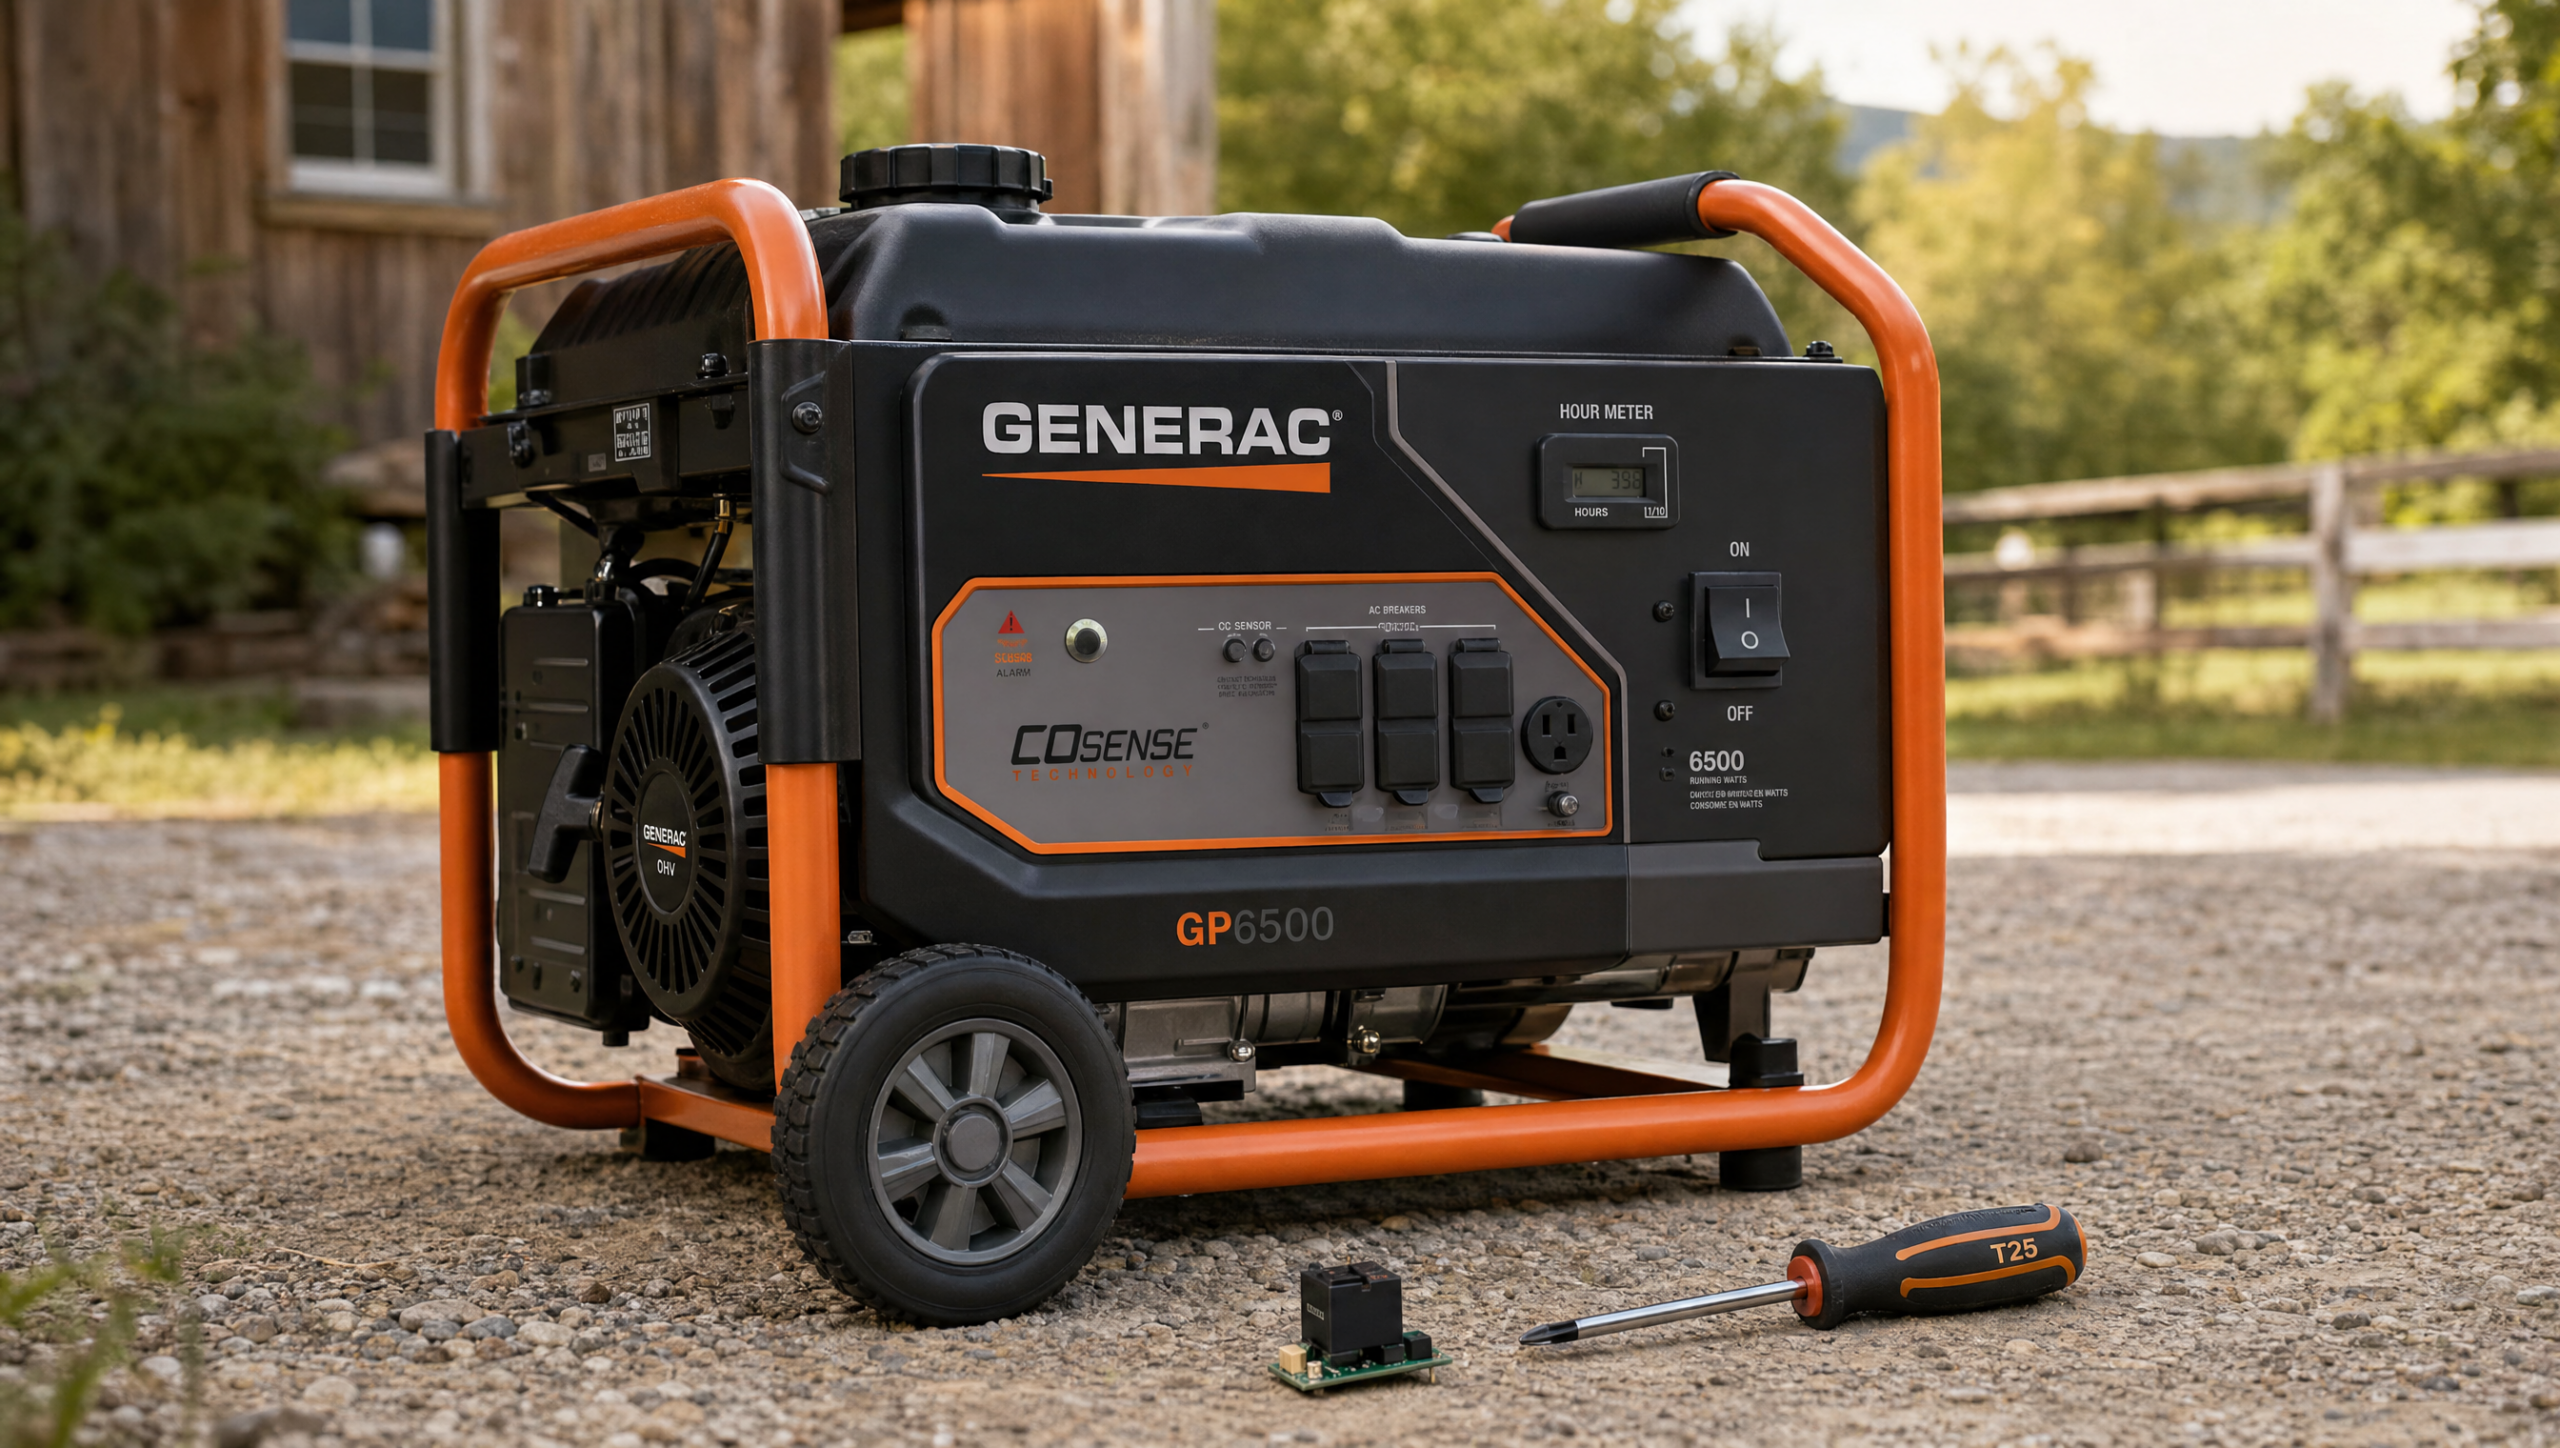
Generac Generator Starts But Won’t Stay Running? COSense Fix (GB6500)
Generac generator starts but won’t stay running? The COSense board is likely failed. Here is a step-by-step fix for the Generac GB6500 and...